Mounting on the Wall
This section will guide you through mounting your Blotch Smart Frame using the metal wall plate.
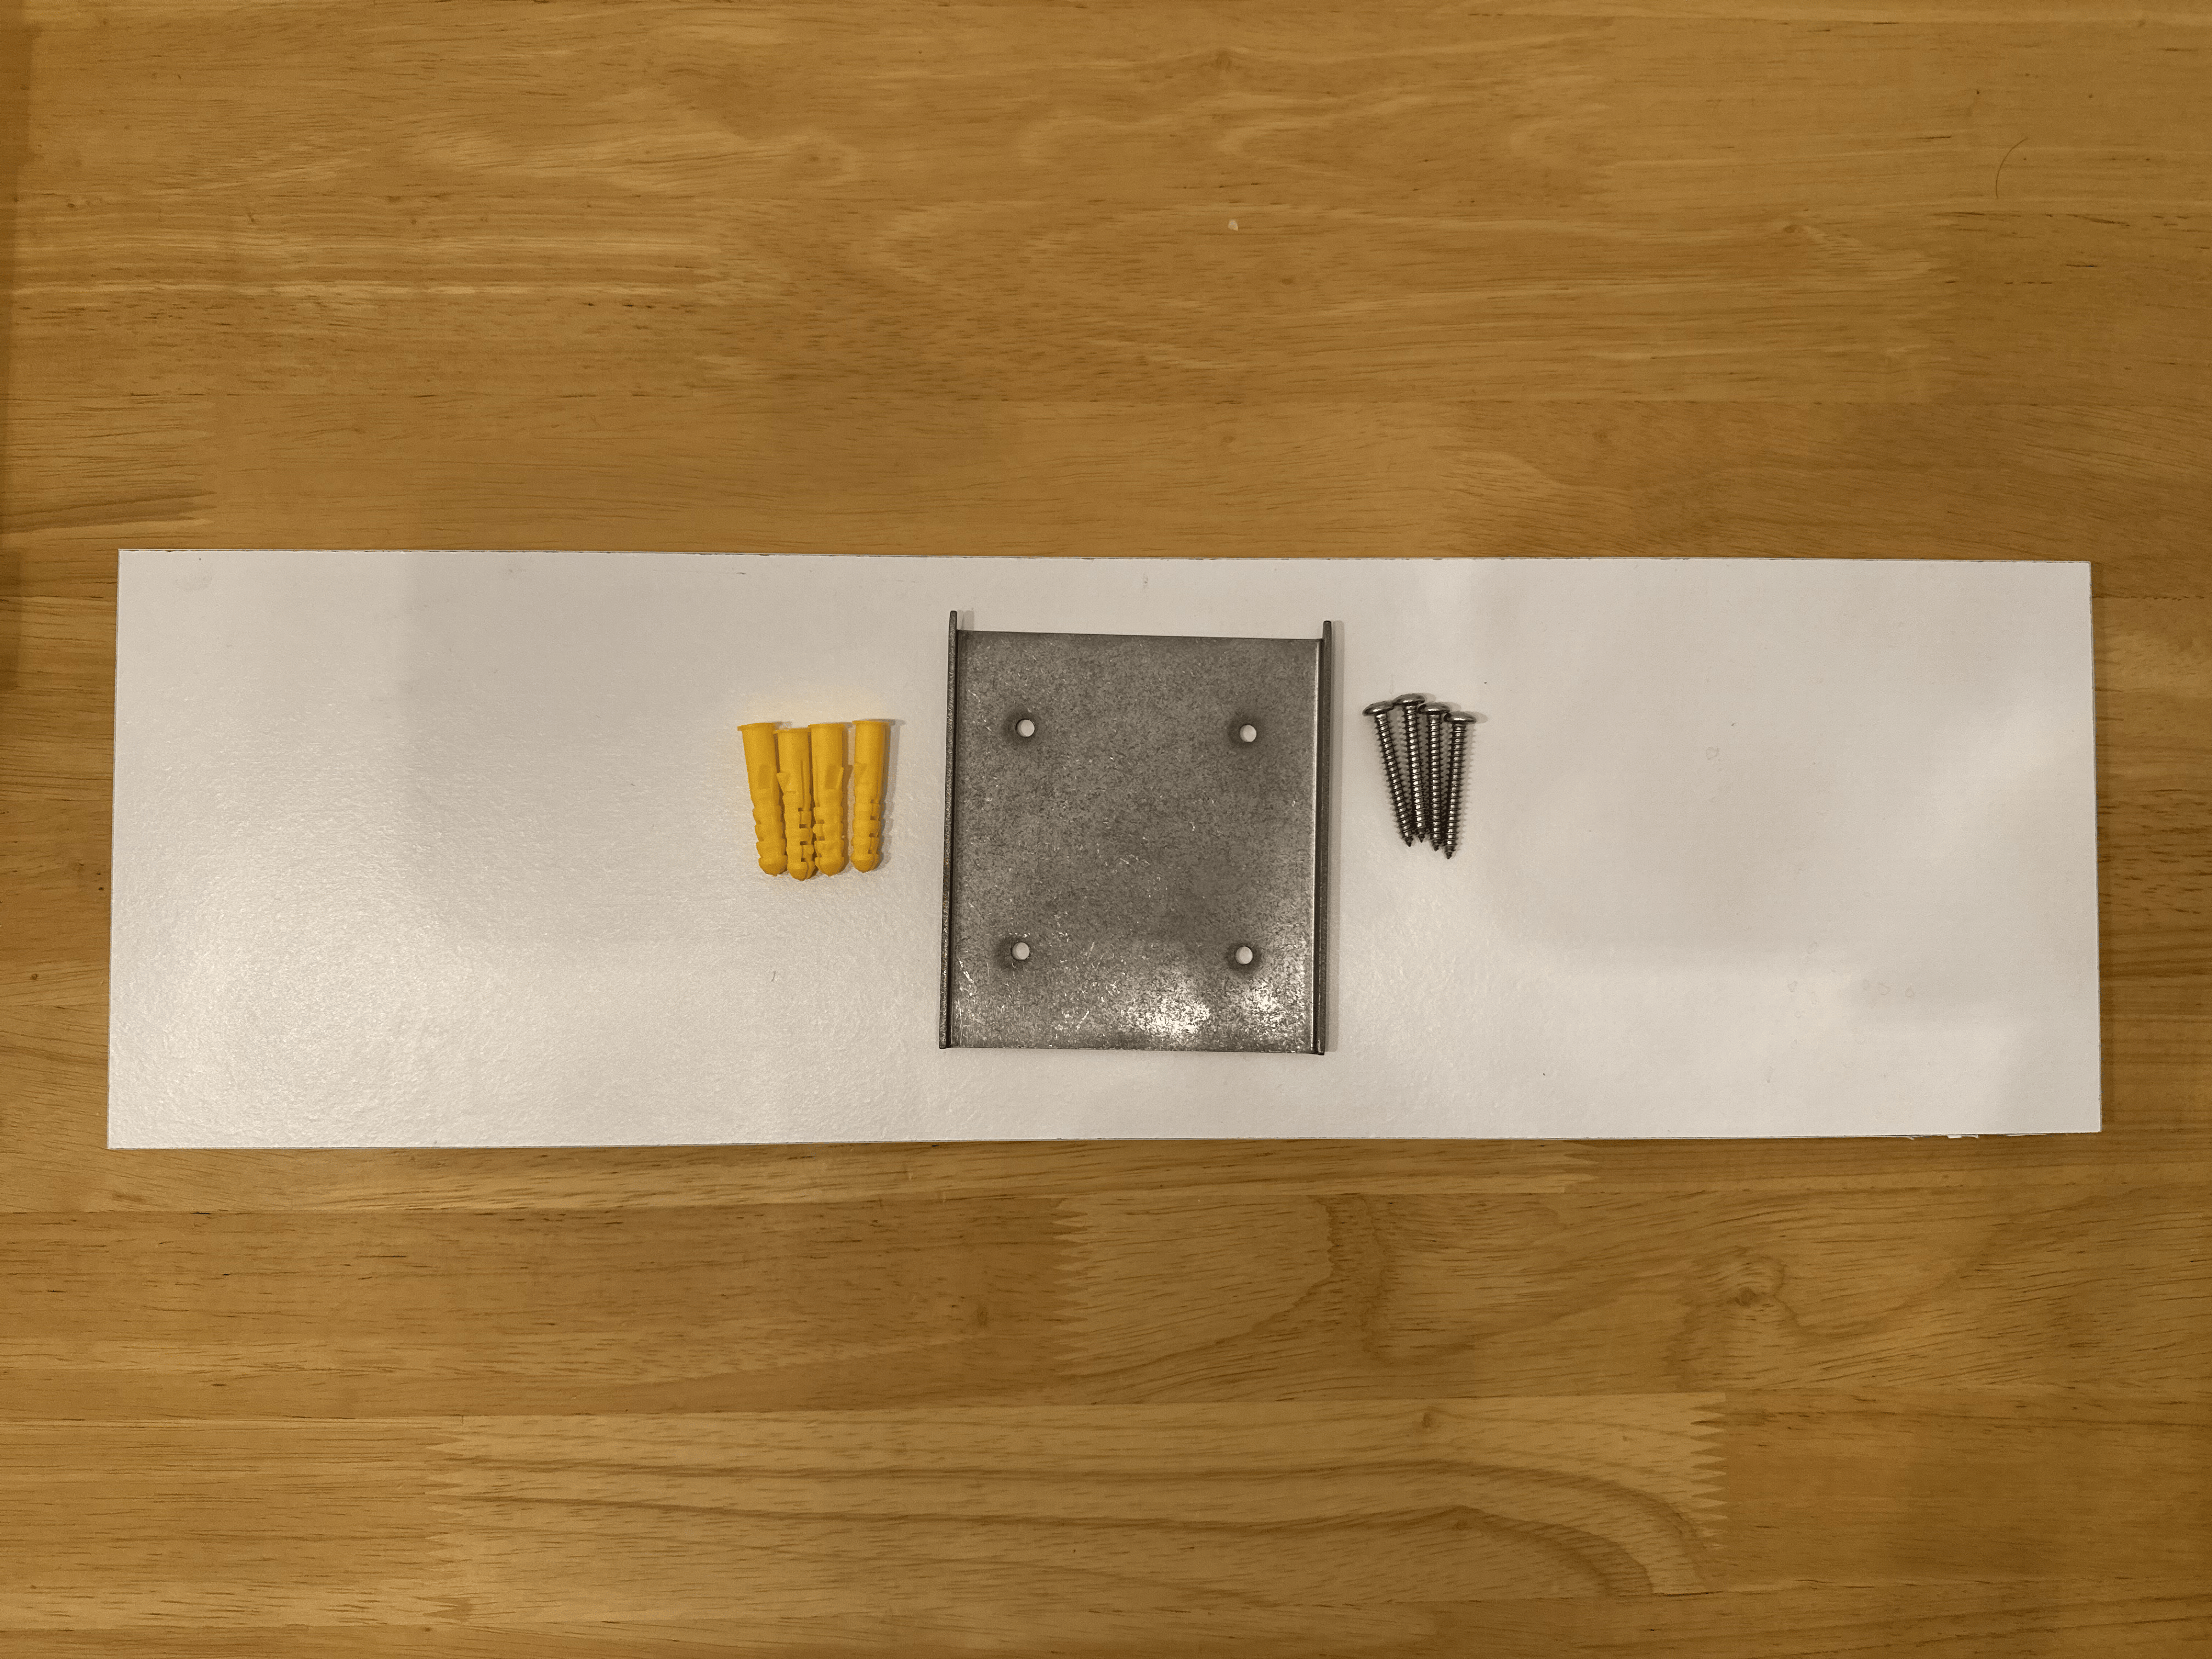
What's Included
Your Blotch Smart Frame package includes:
- 1 × Metal mounting plate
- 4 × Mounting screws
- 4 × Wall plugs
- 4 × Pairs of adhesive wall strips (optional mounting method)
Installation Instructions
Step 1: Position the Mounting Plate
Select a suitable, sturdy wall that can safely support the weight of your Blotch Smart Frame.
Place the metal mounting plate against the wall with the hooks facing upwards. Ensure the plate sits flush against the wall surface. Use a spirit level if necessary to ensure the plate is perfectly horizontal.
Step 2: Mark the Drill Holes
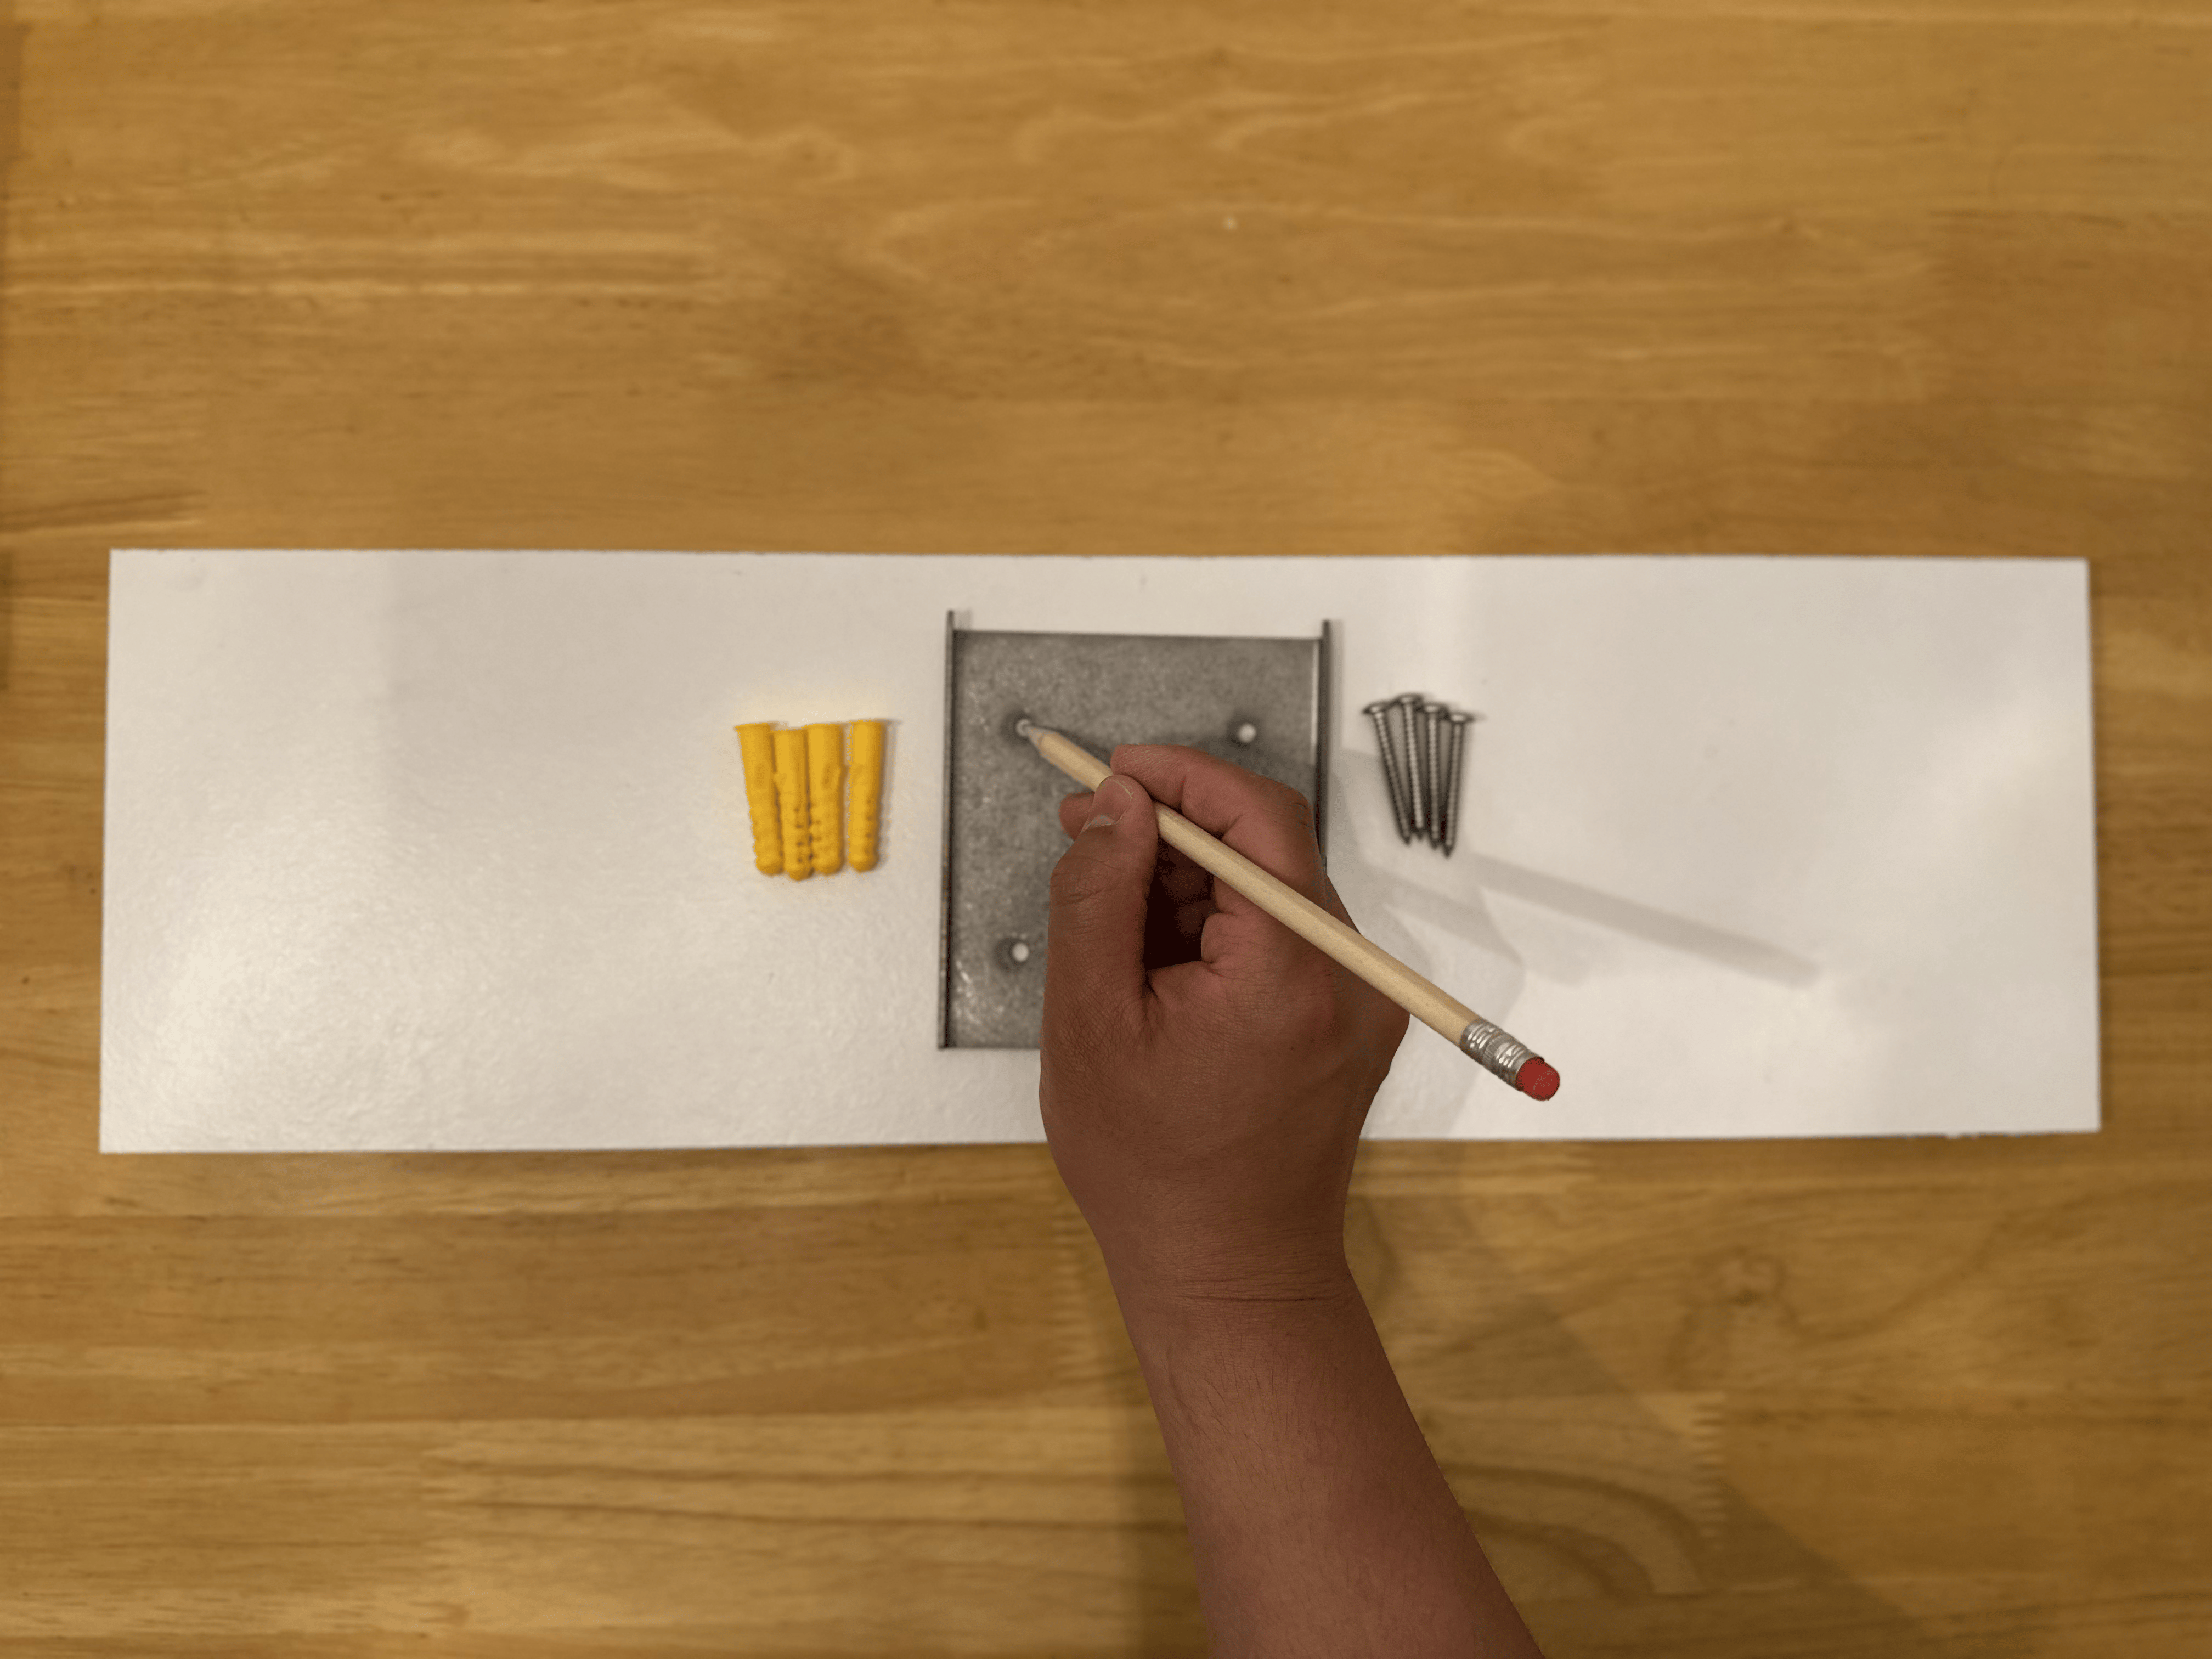
Using a pencil, mark the positions of the four mounting holes onto the wall through the holes in the metal plate.
Alternatively, you may use a pilot drill bit through the plate holes to create pilot holes directly.
Step 3: Drill the Holes
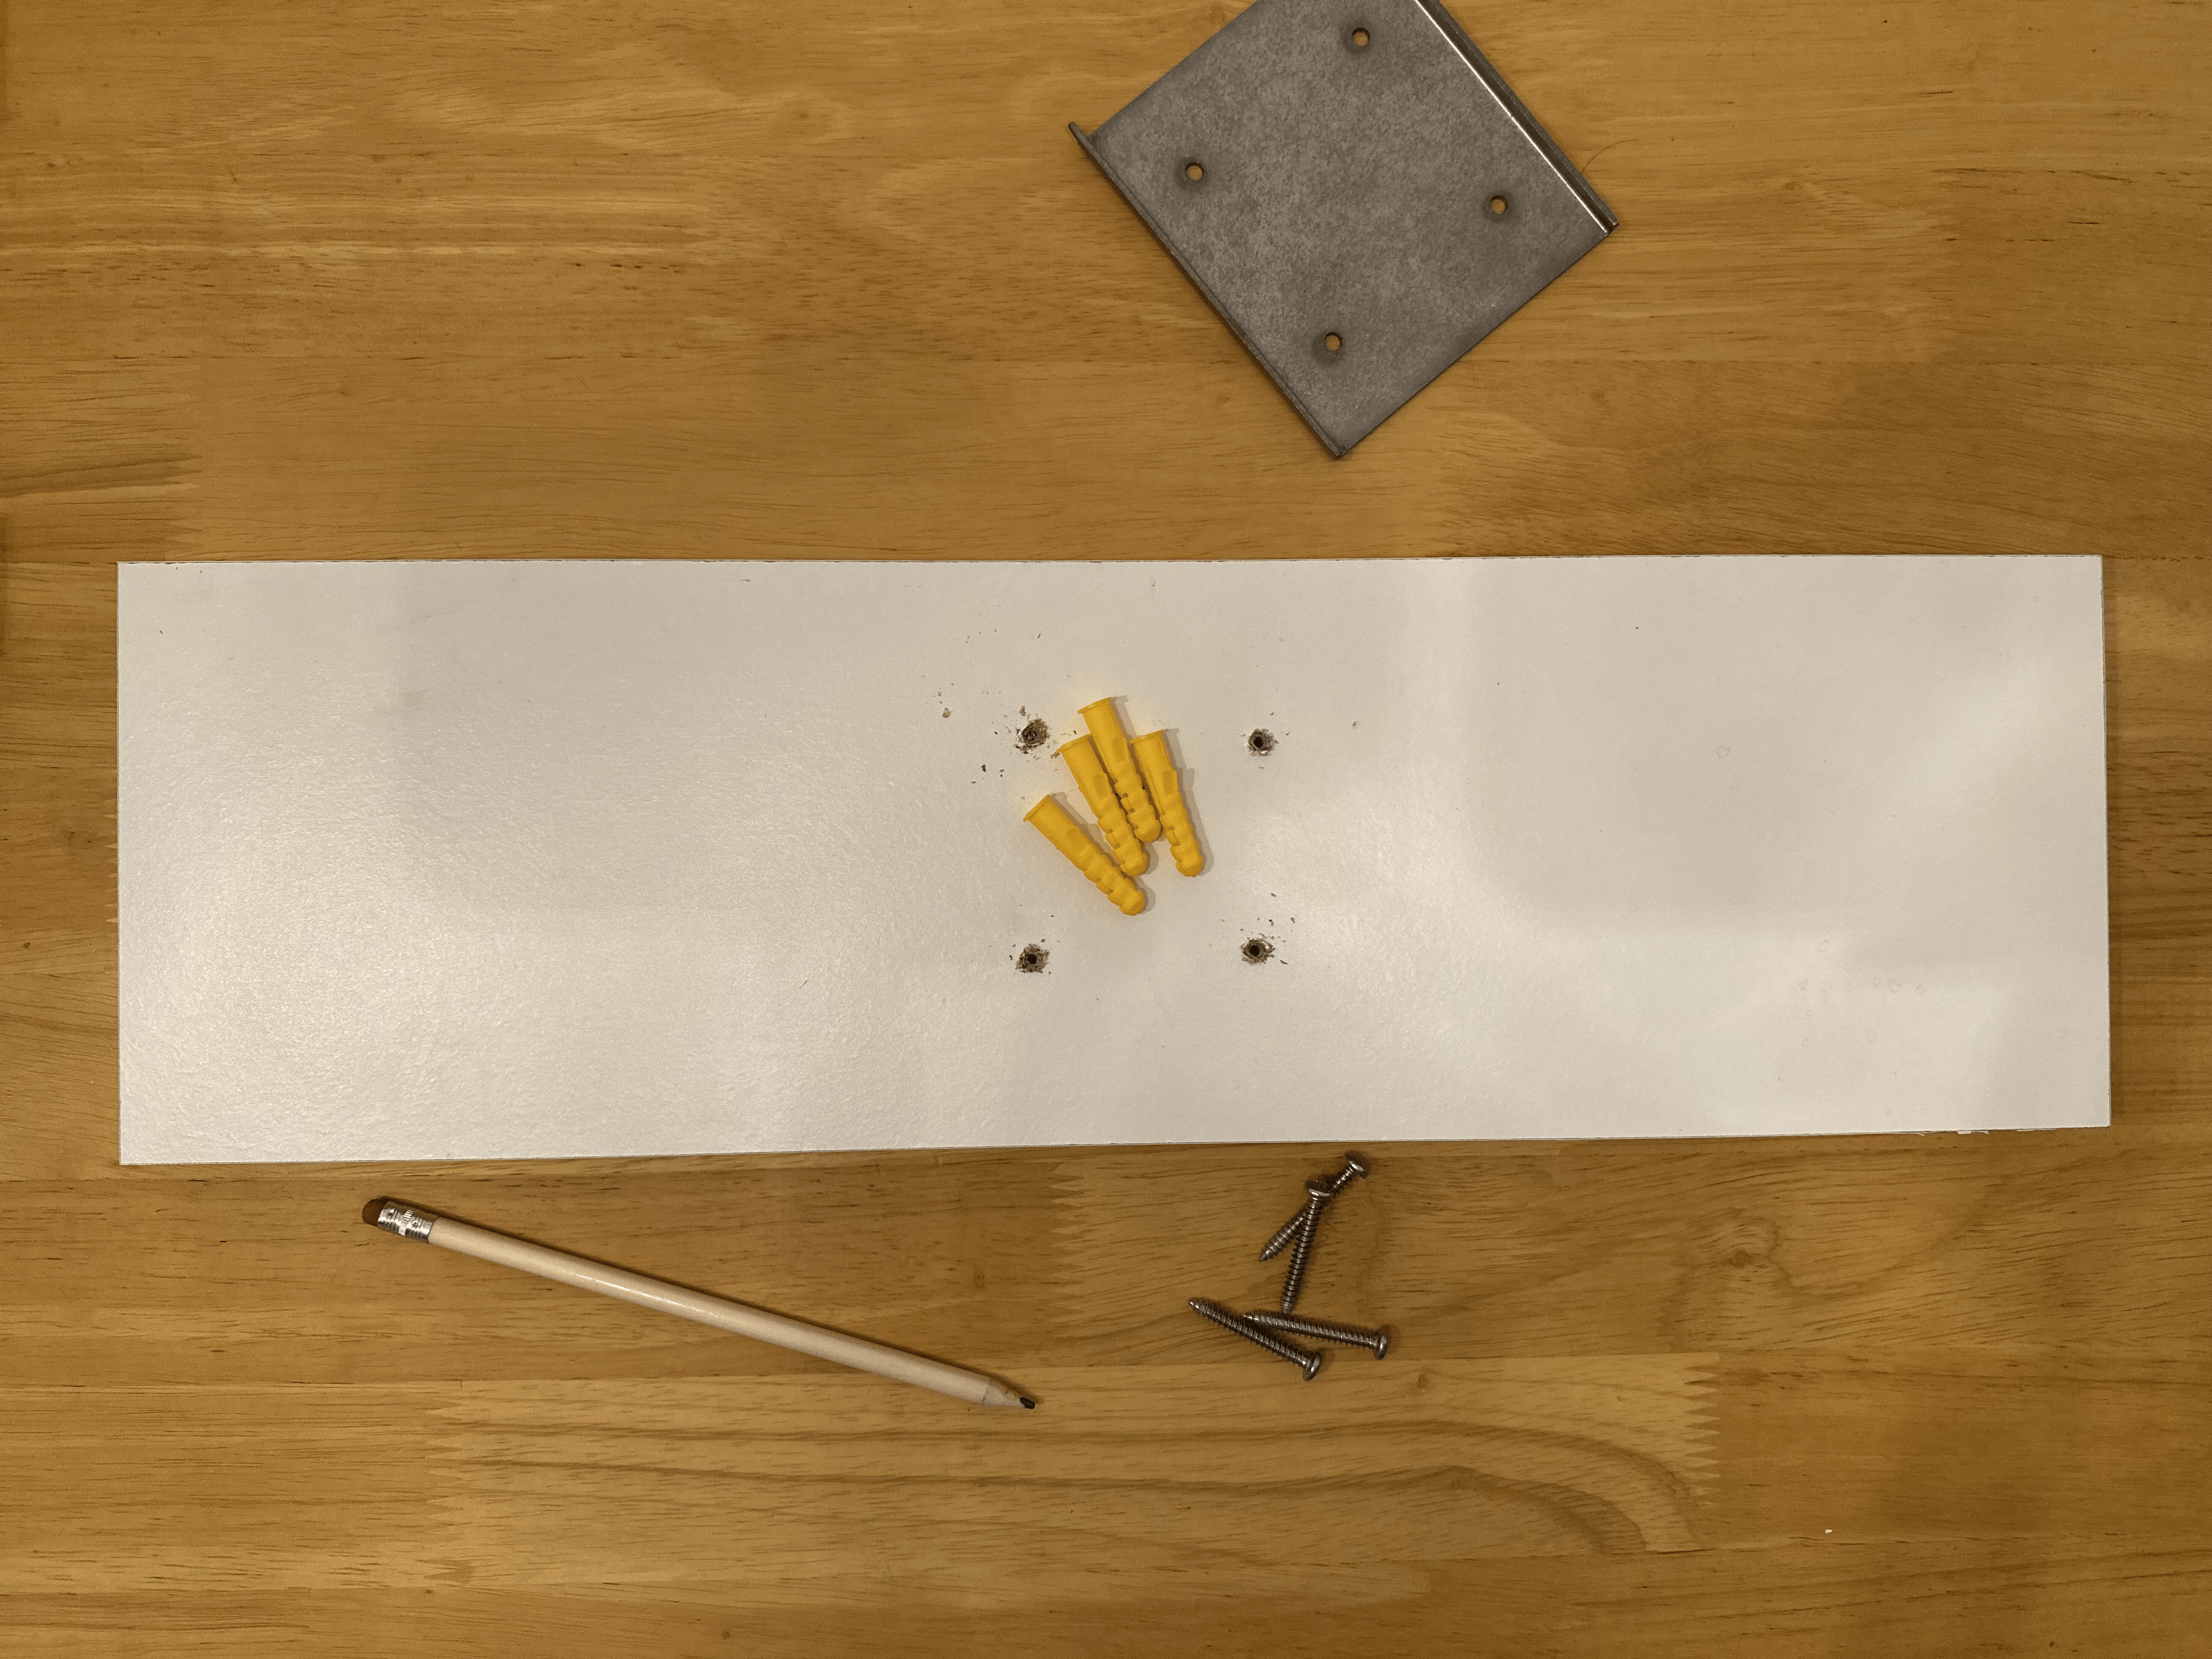
Remove the mounting plate from the wall.
If you have not already created pilot holes, drill pilot holes at the marked positions. Then, using a drill bit appropriate for the supplied wall plugs and your wall type, enlarge the holes as required.
Step 4: Insert the Wall Plugs
Insert the four supplied wall plugs into the drilled holes. Ensure they are fully seated and flush with the wall surface.
Step 5: Secure the Mounting Plate
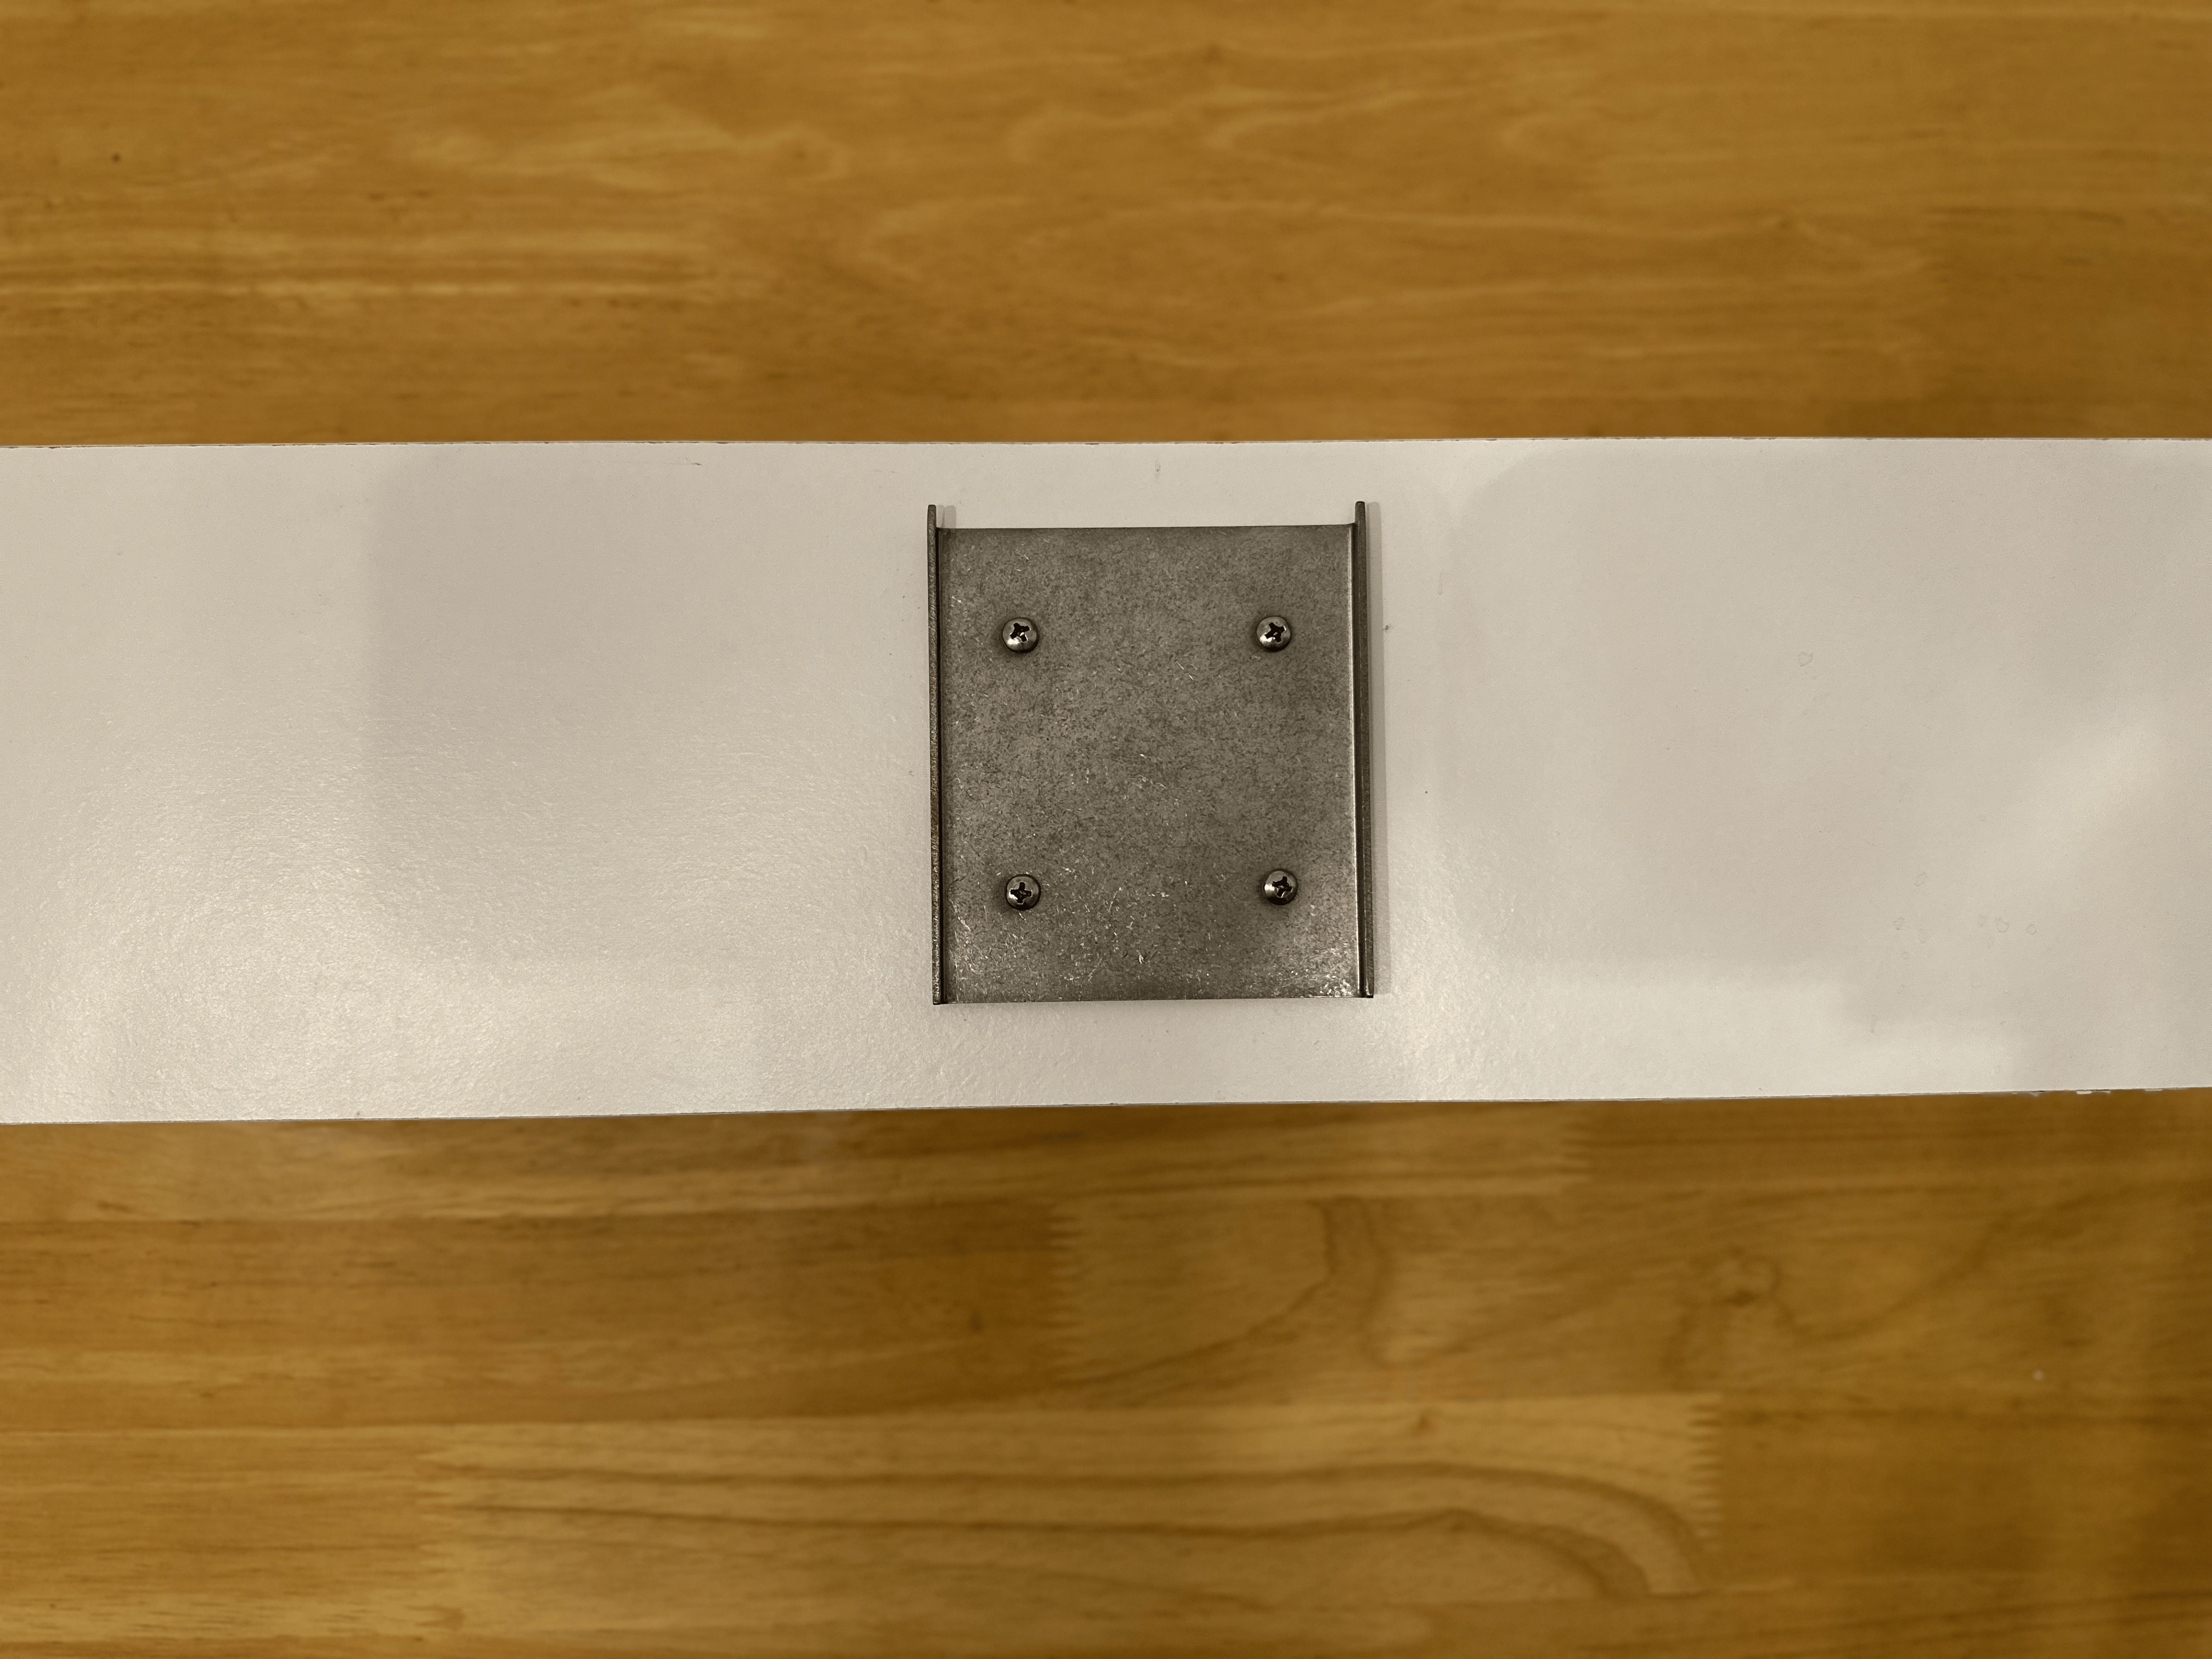
Position the metal mounting plate back onto the wall, aligning the mounting holes with the installed wall plugs.
Insert the four supplied screws through the mounting plate and tighten them until the plate is firmly secured to the wall. Do not over-tighten.
Step 6: Hang the Smart Frame
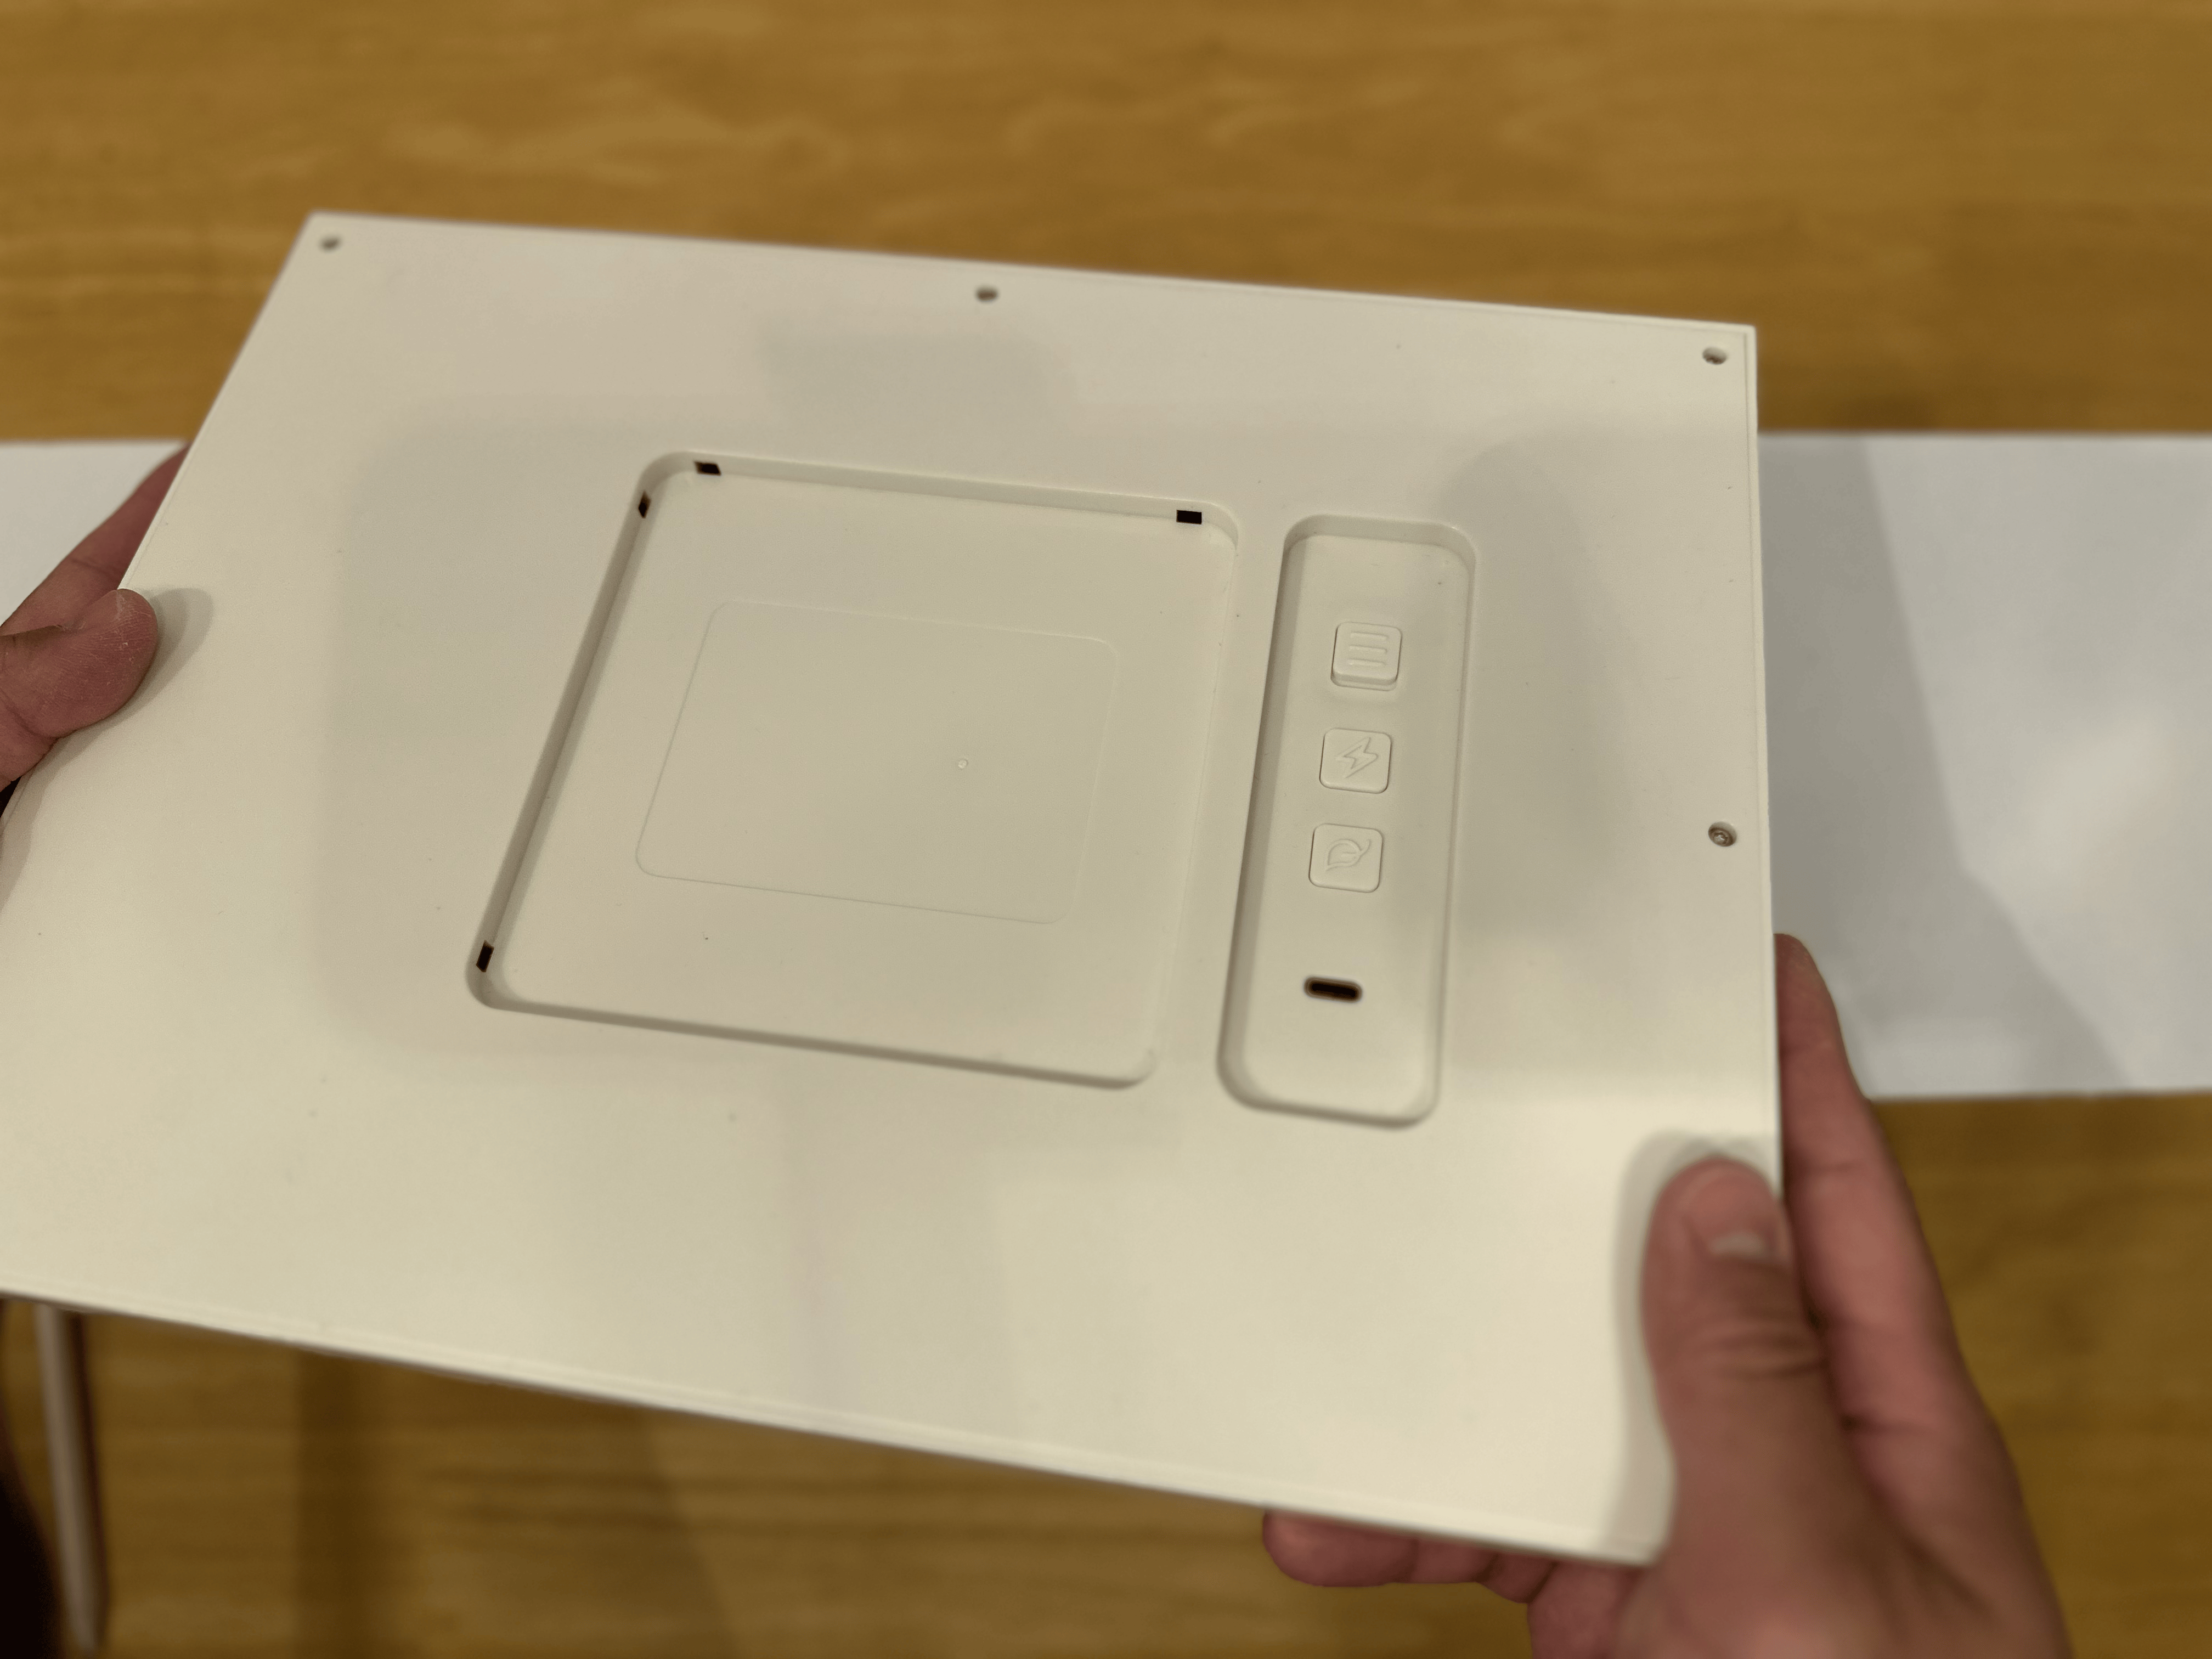
| Orientation example 1 | Orientation example 2 |
|---|---|
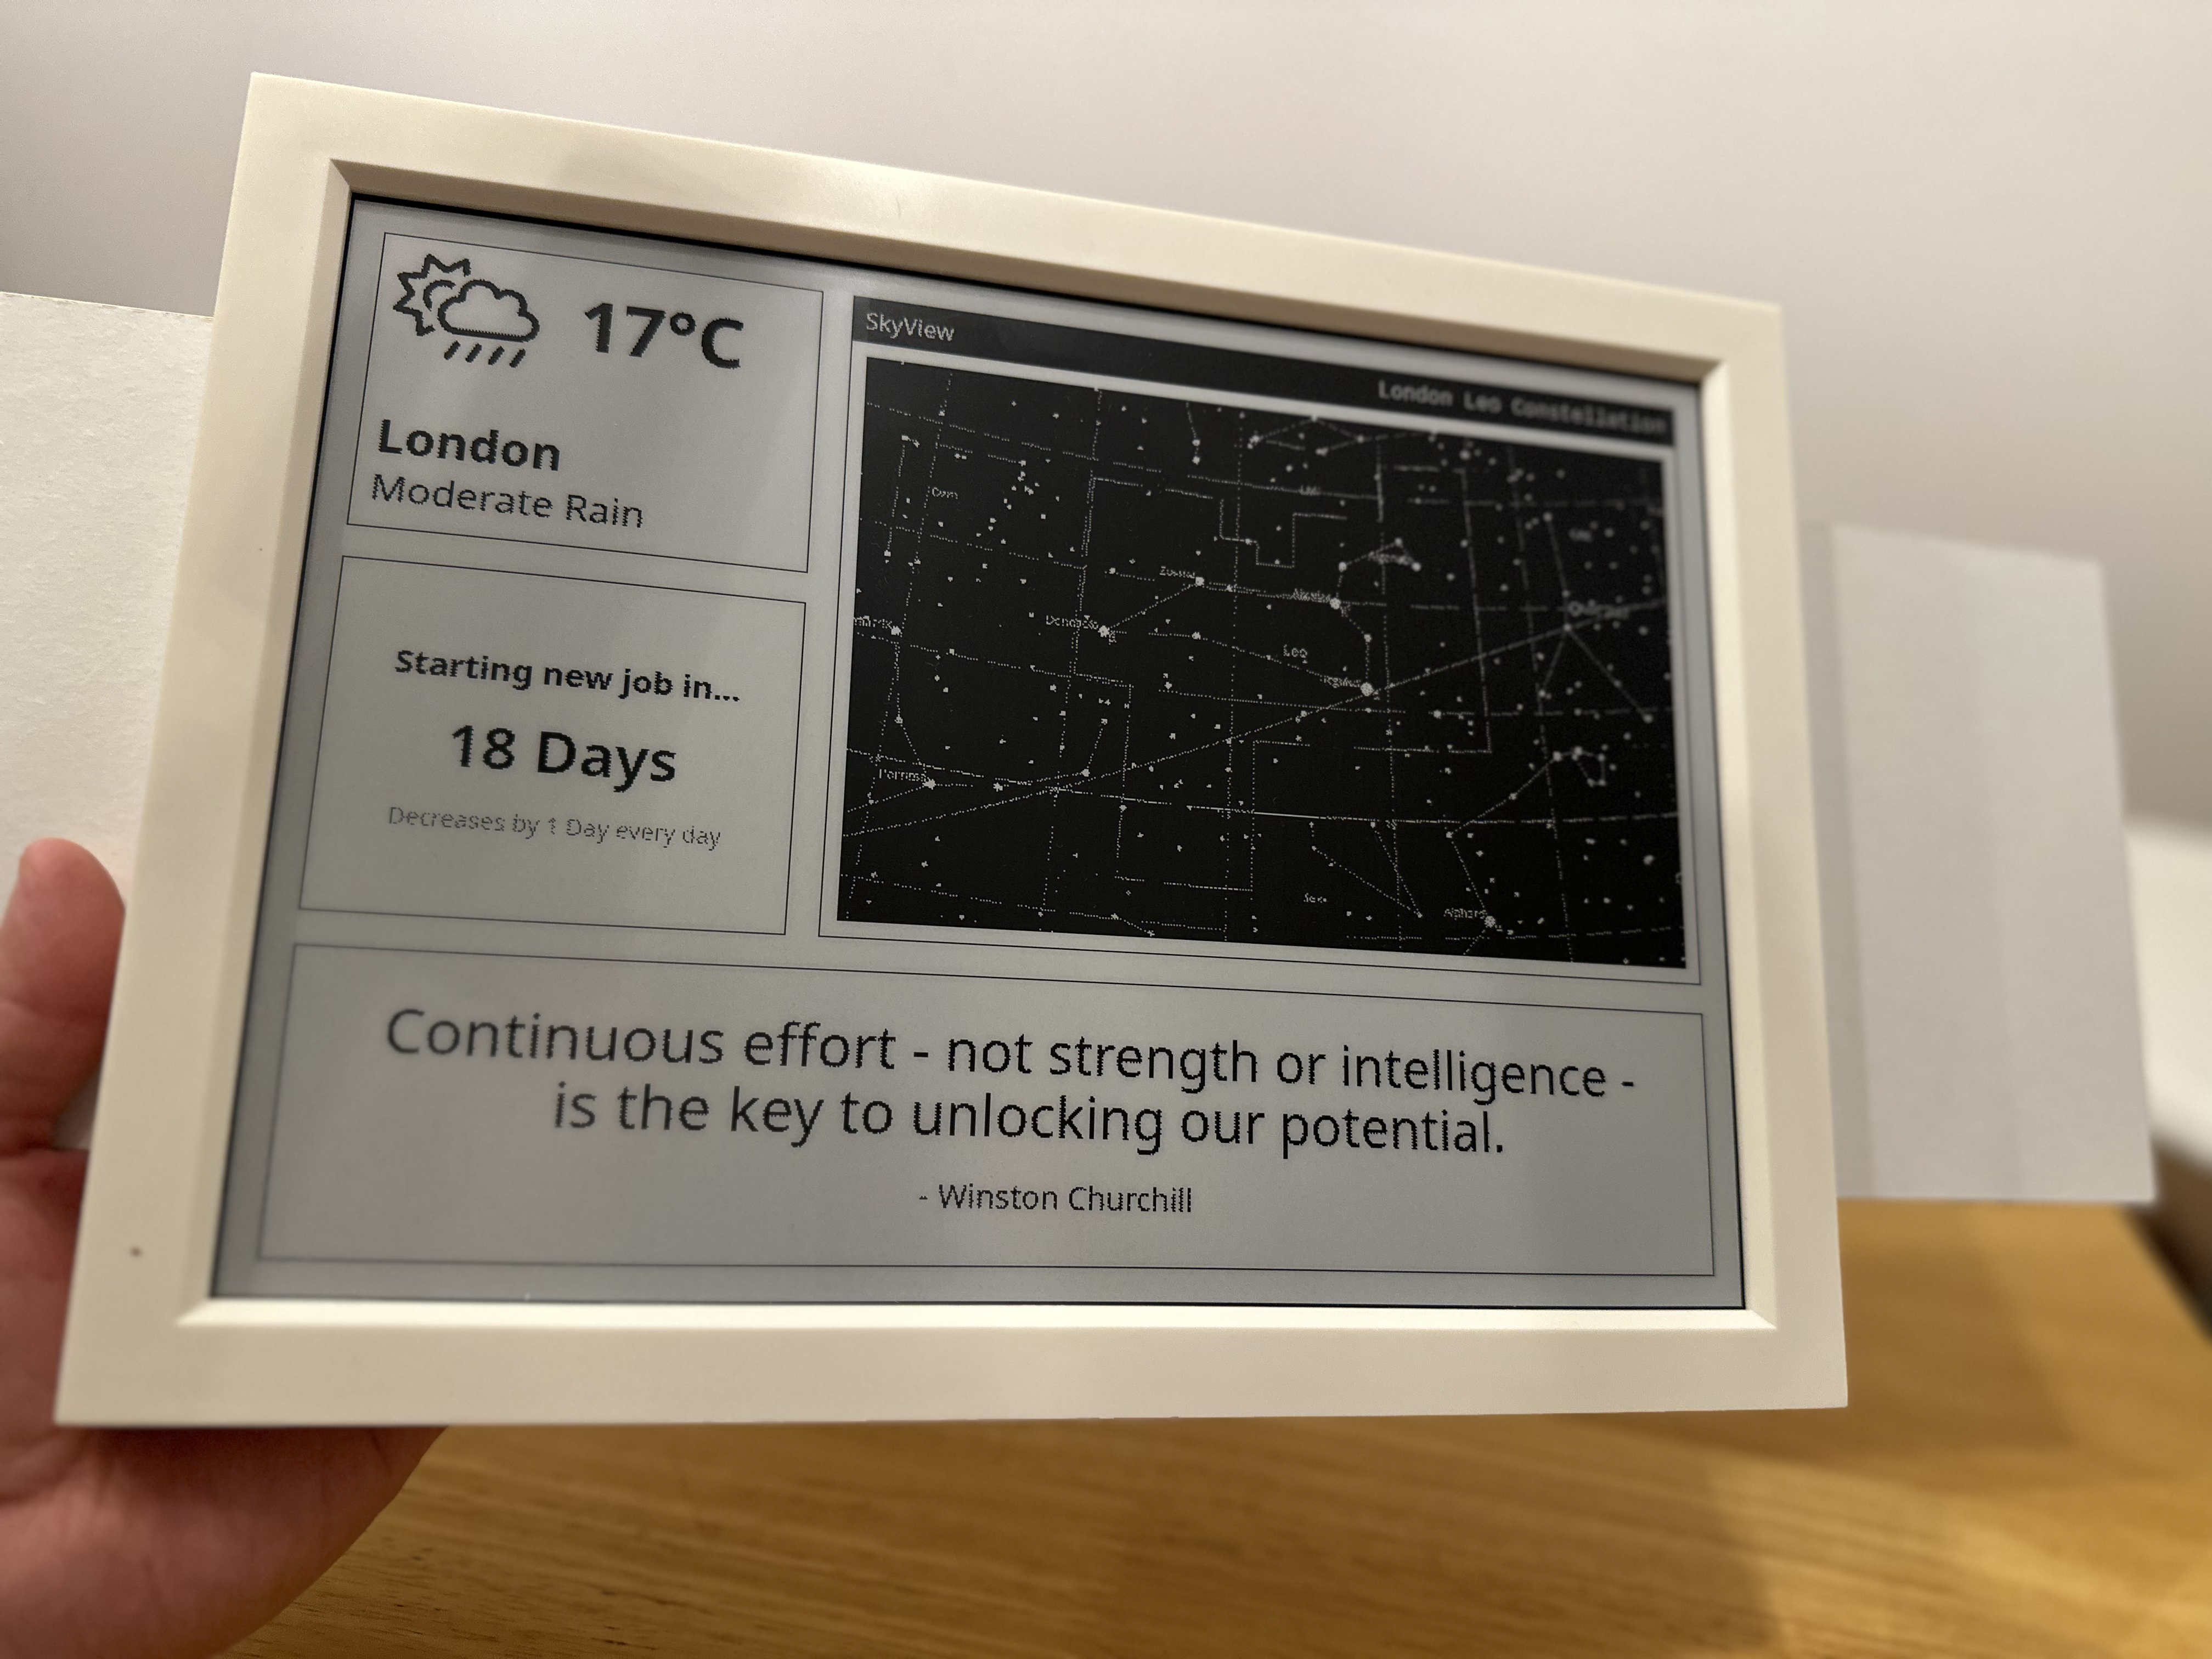 |  |
Your Blotch Smart Frame is now ready to hang.
The frame can be mounted in either:
- Portrait orientation
- Landscape orientation
Carefully align the mounting holes on the rear of the frame with the hooks on the metal mounting plate and lower the frame into position until it is securely seated.
Alternative Mounting Method
Adhesive wall strips are included should you prefer not to drill into your wall.
Please refer to the manufacturer's instructions supplied with the adhesive wall strips for correct installation and weight limits.
Important: Blotch accepts no responsibility or liability for any damage to the frame, wall, or surrounding property resulting from the use of adhesive wall strips.
Disclaimer
Blotch accepts no responsibility or liability for any injury, damage, or loss resulting from:
- Failure to follow these installation instructions.
- Incorrect installation or mounting of the frame.
- Installation onto an unsuitable wall or surface.
- Use of mounting methods other than those recommended in this guide.
It is the installer's responsibility to ensure that the wall and mounting method used are suitable for supporting the weight of the Blotch Smart Frame.